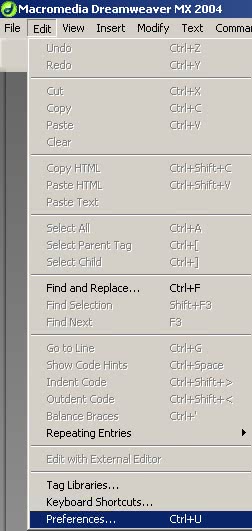
In the Dreamweaver main menu bar click on Edit and choose Preferences.
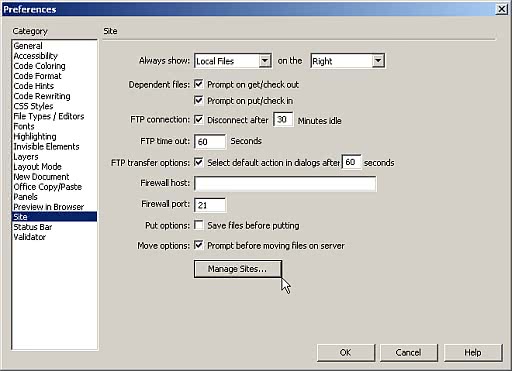
In Preferences click on Site. To the right, click on the Manage Sites button.
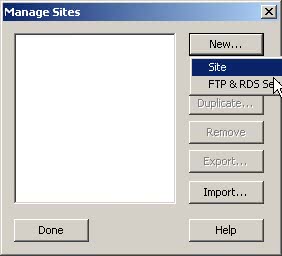
In the pop-up dialog click on New and choose Site.
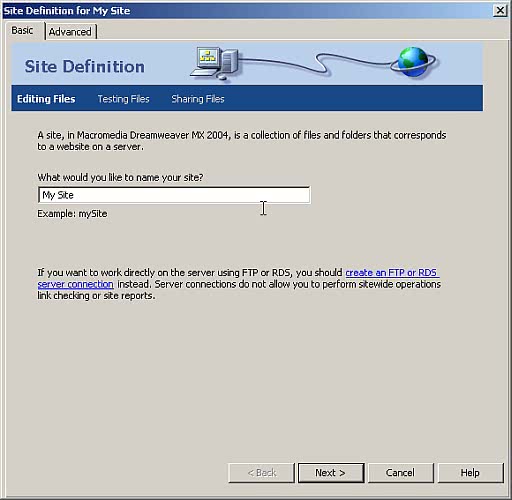
Enter anything you wish for the Site Name and click Next.
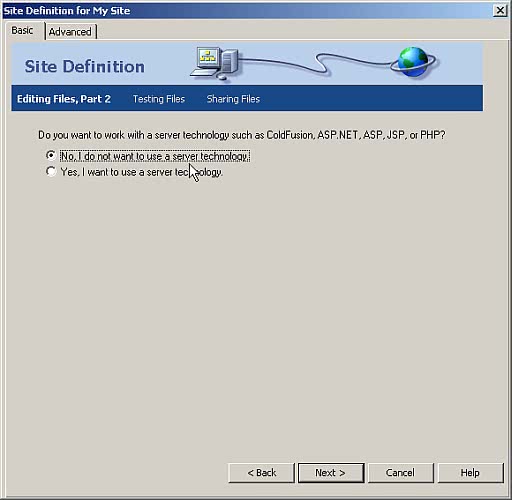
The answer to this question is optional. If in doubt leave the Server Technology set to No. It can be changed later if you wish.
Click Next.
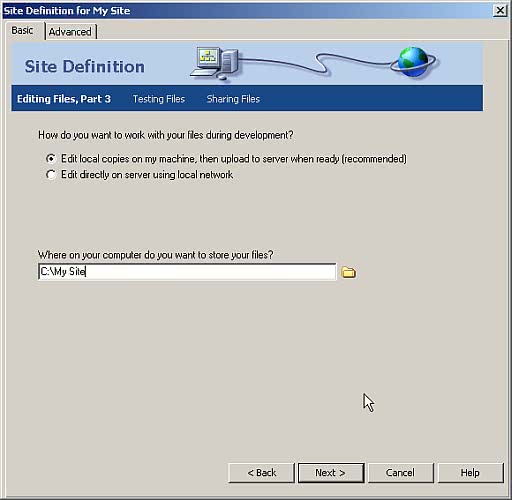
Select the Edit local copies on my machine then upload to server when ready option.
Where on your computer do you want to store your files? Enter the drive letter and path (or use the Browse button to point-n-click) to the folder on your hard drive where Dreamweaver should store the files it creates.
Click Next.
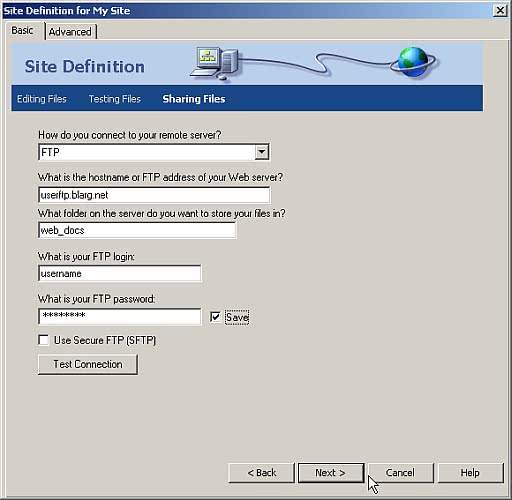
Enter the following Server Information:
You can at this time click Test Connection if you wish.
Click Next.
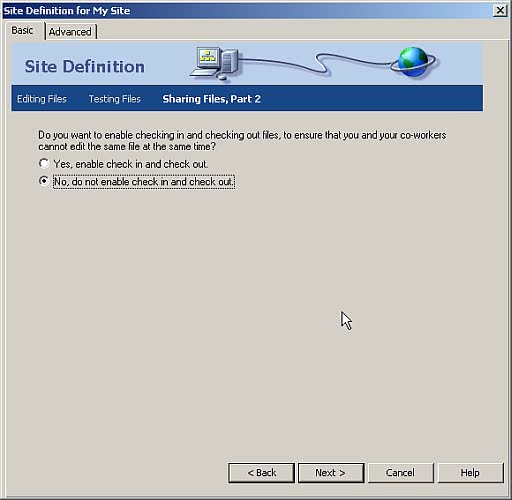
The answer to this question is optional. If you wish to enable local version control answer Yes, otherwise - or if you are not sure - select No.
Click Next.
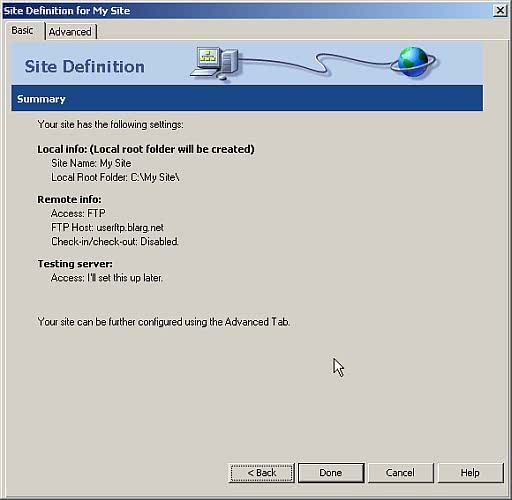
You will see a summary of your configuration options. Review the configuration information for errors and when completed click Done.
For more detailed documentation and Support for Dreamweaver MX visit the Adobe.com web site. For information relating to web site management see our Web Space information.
The Communications Control Center (CCC) enables you to read your email from any standard internet connection, setup autoresponders, control your email filters, and much, much more. It can be accessed from avvantamail.com.
![]()